Configure (daddelkischde)
This guide will show you how to install and configure RetroPie to work with the daddelkischde.
Install RetroPie
Download the RetroPie image for Raspberry Pi 0/1 from their website. Follow their installation guide on how to install the image on a micro SD card.
Configure RetroPie
Keyboard
When you first launch RetropiePi you will be asked to configure your gamepad. daddelkischde's buttons won't work at this moment. Therefore you need to connect a keyboard to the USB A port. When asked to configure your gamepad, hold down any key on your keyboard. Then you will need to configure the keys to navigate within RetroPie. To skip a key, simply hold a key that you have already defined for a about 2 seconds. Remember your choices especially for the A and B buttons. These buttons are used to navigate the menus (A is to select a menu entry, B is to go back).
Configure WiFi
To connect RetroPie with your WiFi, select the RetroPie configuration menu and press A.
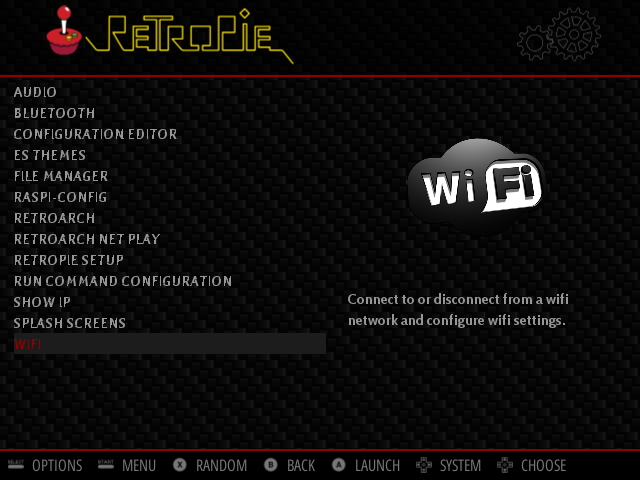
Select the WiFi entry and press A.

Before you can configure WiFi, you must still select the country in which you are. This ensures that only frequency bands permitted in your country are used. On the notification screen, select Yes and press Enter.
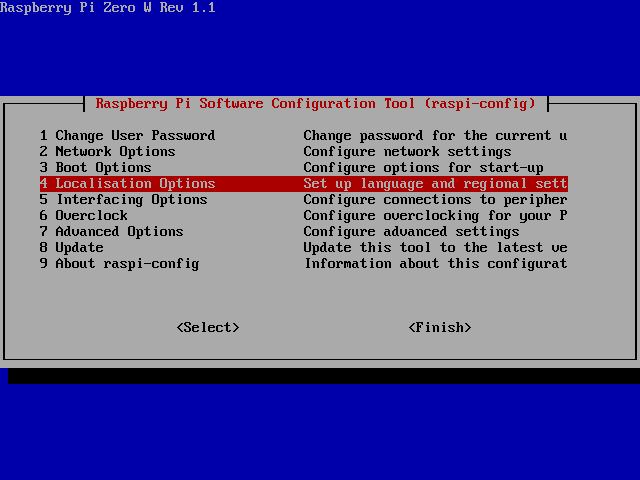
Select Localisation Options and press Enter.
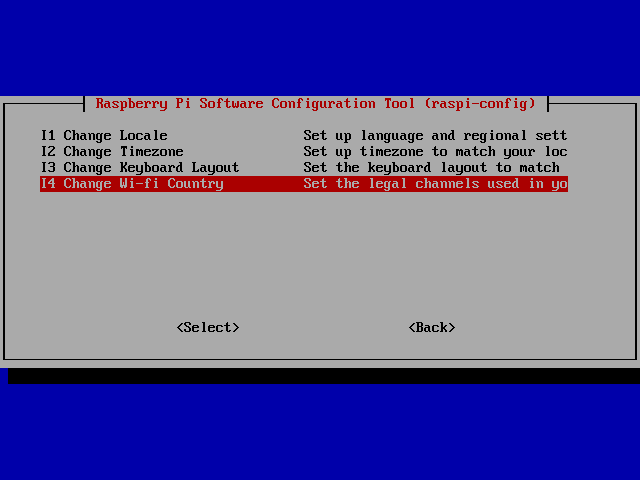
Select Change Wi-fi Country and press Enter.

Select your country and press Enter. Then select Finish to exit raspi-config.
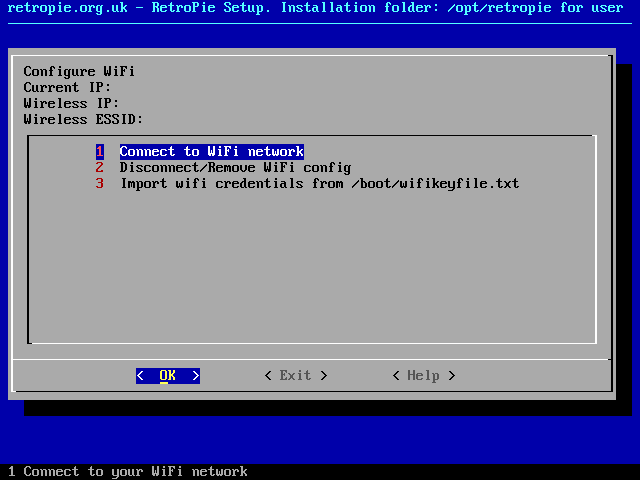
Select Connect to WiFi network and press Enter. In the following dialogs, select your WiFi network and enter your WiFi password. If this was successful you should see your IP address and WiFi network name in the WiFi menu at the top.
Enable SSH
SSH is used to remotely connect to RetroPie. It will be more convenient to use your PC or laptop to enter commands and transfer files later.
Select the RetroPie configuration menu and press A.
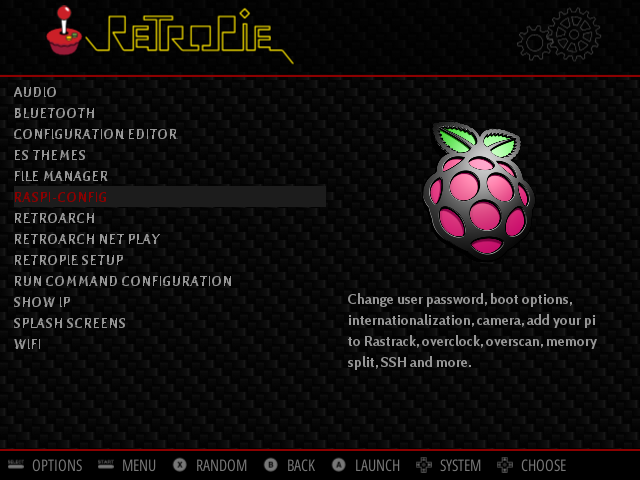
Select the Raspi-Config entry and press A.
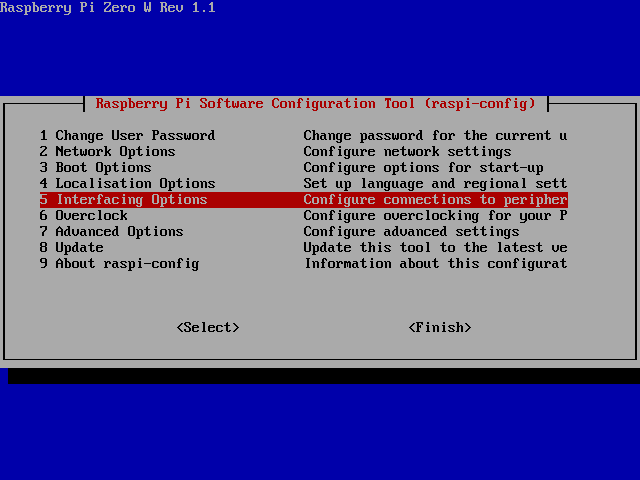
Select Interfacing Options and press Enter.
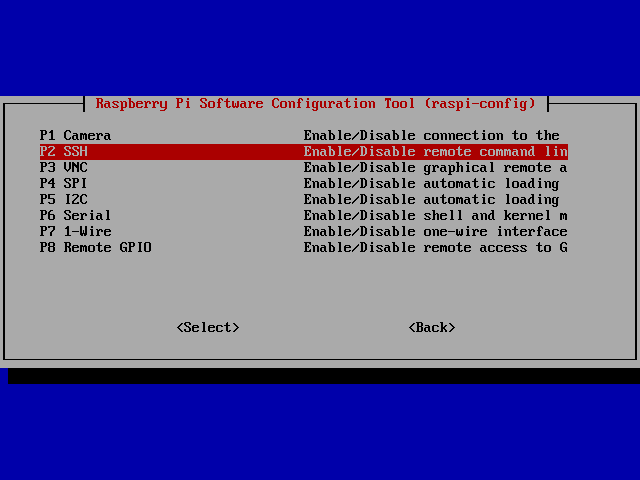
Select SSH and press Enter.
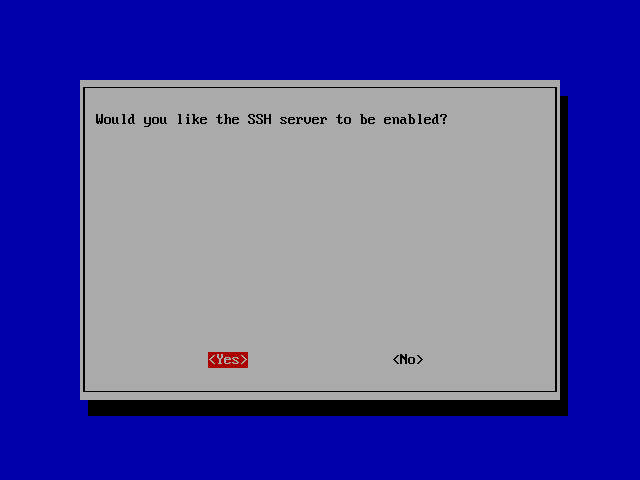
Select Yes and press Enter.
You can use any SSH client (like PuTTY for Windows) to connect to RetroPie. The username is pi, the default password is raspberry. You can change the password with the passwd command.
Button driver
Before you can use daddelkischde's buttons, you need to activate the gamecon driver. This is how it's done:
Select the RetroPie configuration menu and press A.
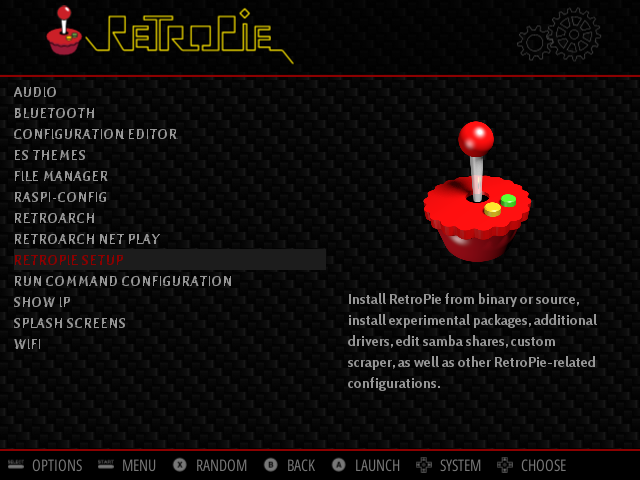
Select RetroPie Setup and press A.
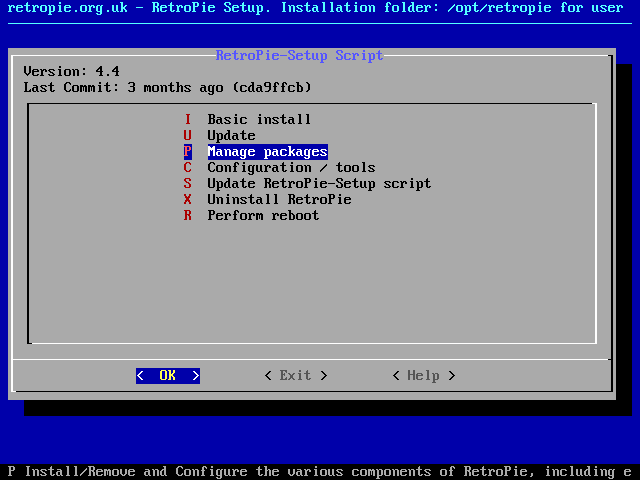
Select Manage packages and press Enter.
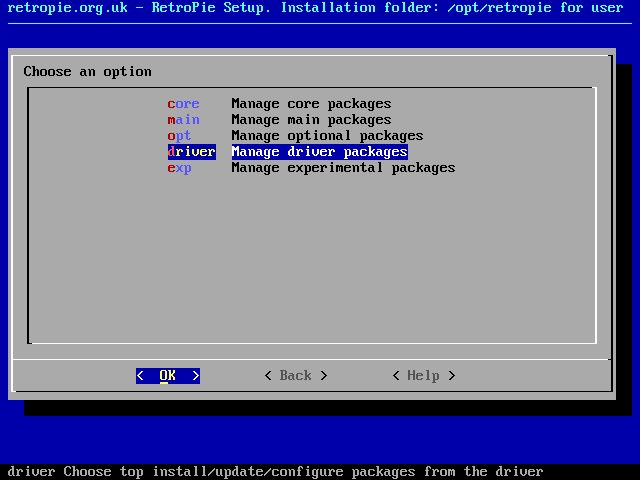
Select Manage driver packages and press Enter.
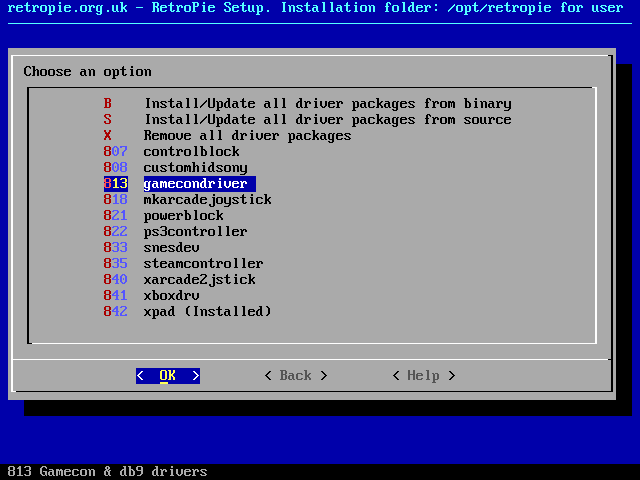
Select gamecondriver and press Enter.
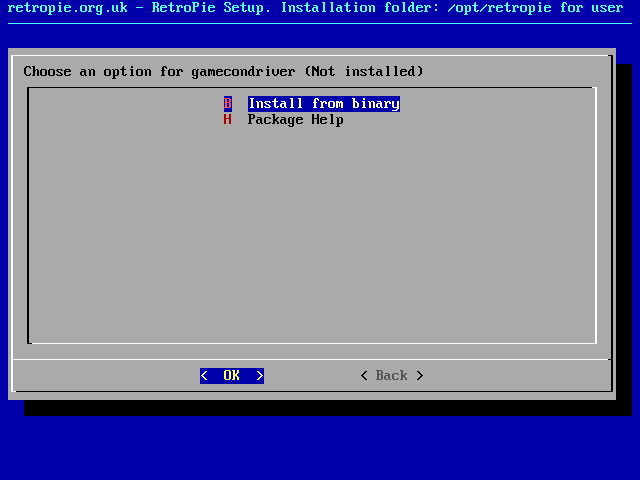
Select Install from binary and press Enter. It will take up to a few minutes for the driver to be installed and you will see some installation messages on the screen.
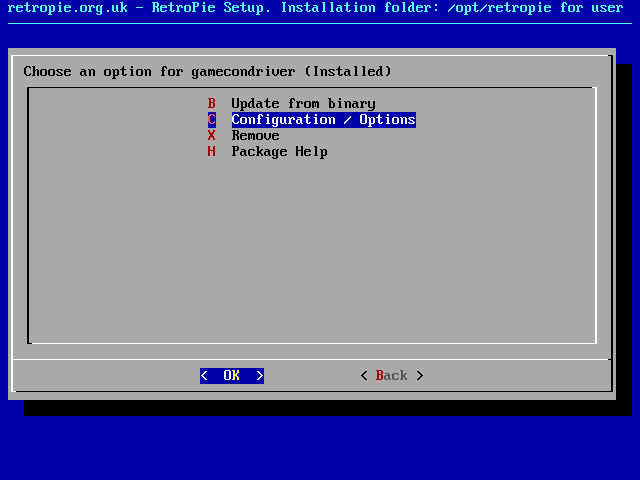
When the installation has finished and you are back in the menu, select Configuration / Options and press Enter.
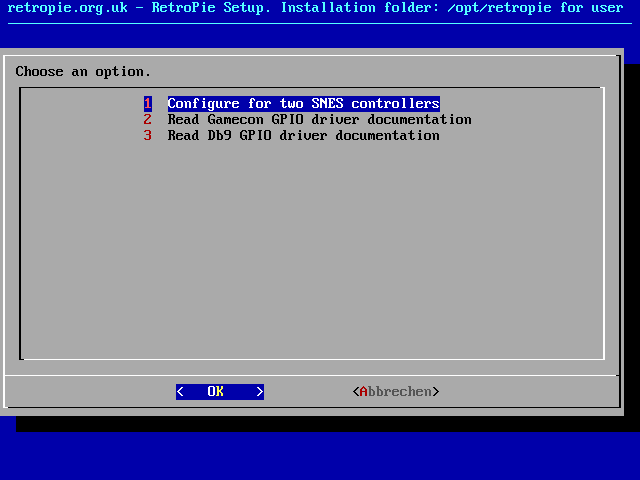
Select Configure for two SNES controllers and press Enter.
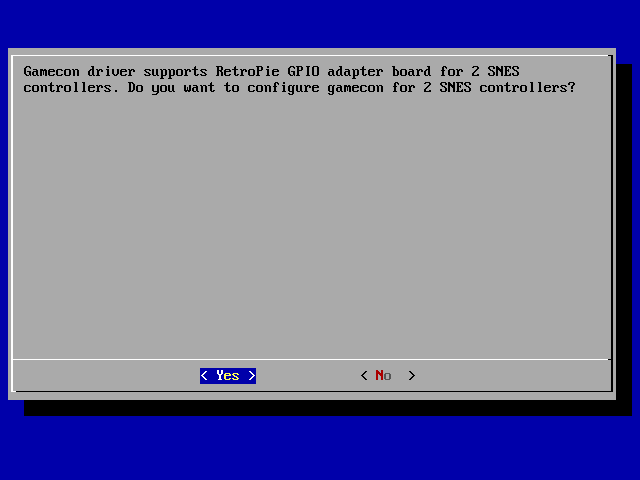
Select Yes and press Enter.
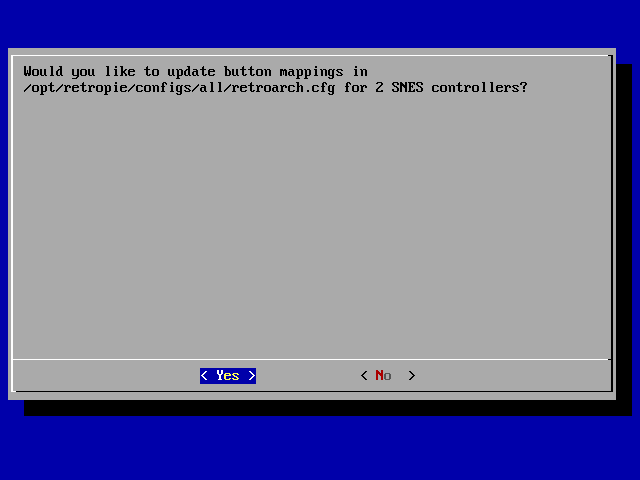
Select Yes and press Enter.
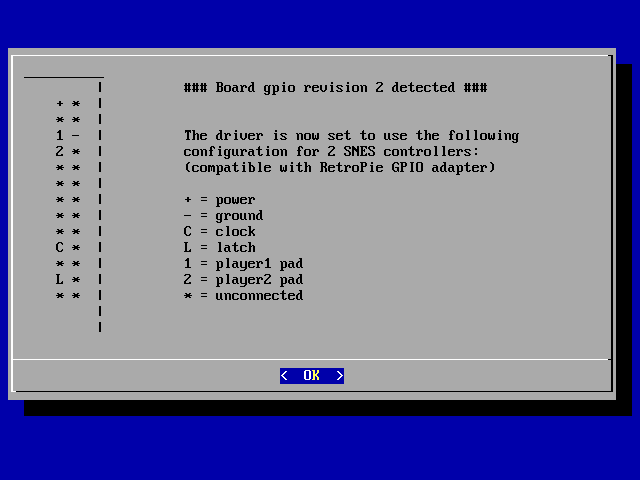
Press Enter.
You are back in the menu. Press the right arrow to navigate to Back and work your way back out of the menus. After a reboot your buttons should work.
Troubleshooting
If the buttons do not work after installing and configuring the gamecon driver as described above, here are some troubleshooting tips.
Check the hardware
Before you try different software settings, you should rule out that this is a hardware problem. There is a script on the downloads page for testing the buttons. This script reads the buttons without detours via the operating system. If the buttons work, it is not a hardware problem but a software issue.
Download the script buttons_test.py onto your Raspberry Pi. Before you run it, unload the gamecon driver with the command sudo rmmod gamecon_gpio_rpi. Start the script with python buttons_test.py. Select the first menu item Test individual buttons by pressing 1, followed by Enter. Now you can press the buttons and the script should tell you which buttons it detected.
If that was successful, you can quit the script and reload the gamecon driver with sudo modprobe gamecon_gpio_rpi. Then continue with the instructions below to adjust the software settings. If the test was unsuccessful, you will need to check the hardware. Was everything soldered cleanly? Is there a short circuit? The buttons are connected to the Raspberry Pi via pins 5 (GPIO 3), 19 (GPIO 10) and 23 (GPIO 11).
Software settings
The RetroPie setup configures two controllers when you enable the gamecon driver. This can cause problems in games designed for two players. The following can help:
Use SSH to connect to the Raspberry Pi. The command sudo nano /etc/modprobe.d/gamecon.conf opens the driver's configuration file. Change the line that starts with options gamecon_gpio_rpi map=... to gamecon_gpio_rpi map=0,0,0,0,0,1. Save the file by pressing CTRL+O, then Enter and finally CTRL+X. Now reboot with sudo reboot and reconnect again via SSH.
Now you have to configure the controller in the RetroPie setup. To do this, run sudo ~/RetroPie-Setup/retropie_setup.sh and navigate to Configuration / tools, configedit, Configure basic libretro emulator options, Configure default options for all libretro emulators, Choose joypad order. Player 1 should be configured to 0 (SNES pad), the remaining players may be unset. After a reboot with sudo reboot the buttons should work in all games.
Display resolution
It is recommended to use the native resolution of your display in order to get a clear image. The resolution is set in /boot/config.txt. You can edit this file with the command sudo nano /boot/config.txt. Alternatively you can put the SD card into a PC or laptop and edit the file with any text editor of your choice.
If you use the 3.5" HDMI display with a resolution of 480x320 pixels you can use the following settings:
hdmi_force_hotplug=1

hdmi_cvt=480 320 60 6 0 0 0

hdmi_group=2

hdmi_mode=87

hdmi_drive=2
With the 3.5" HDMI display inside a Game Boy shell you will notice that some columns on the left are hidden by the shell. You can set the following options in /boot/config.txt to tell RetroPie to skip the first 30 columns from the left:
overscan_left=30

overscan_right=0

overscan_top=0

overscan_bottom=0

overscan_scale=1
HDMI sound
If you are using an HDMI display with audio output you need to configure RetroPie to send the audio through the HDMI port:
Select the RetroPie configuration menu and press A.
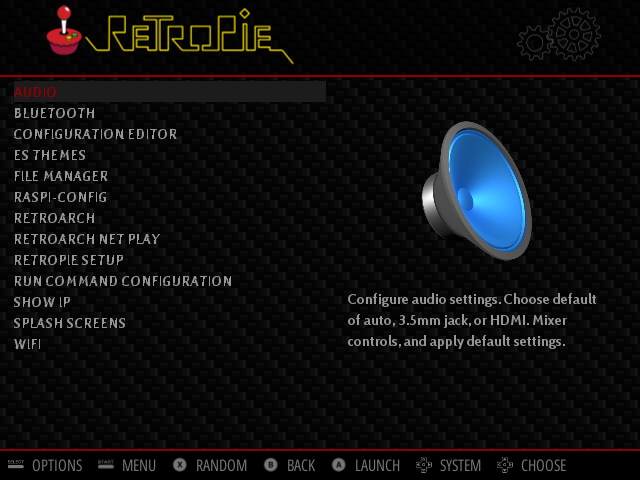
Select Audio and press A.
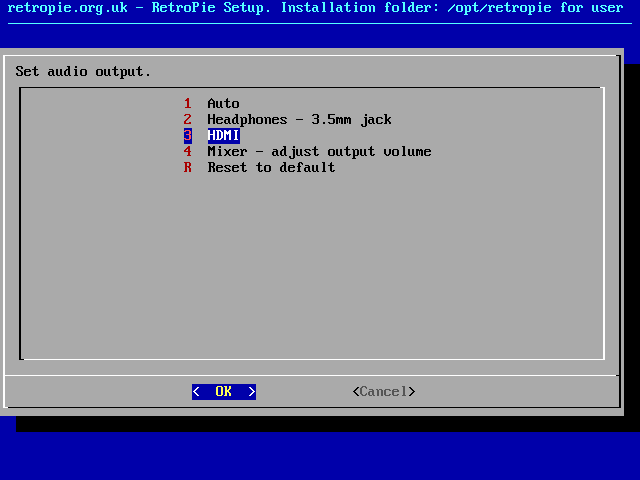
Select HDMI and press Enter.
With Mixer - adjust output volume you can optionally increase the output volume if the maximum volume is too low for your needs.
Disable fsck
RetroPie will check the SD card for errors on every boot. It stores the date and time of the last check. If the last check was too long ago, it will check the SD card again. Because the Raspberry Pi Zero does not have a battery buffered realtime clock, it never knows the current date and time until it synchronizes with a time server over the internet. This sync happens after the check for the last error checking and therefore RetroPie checks the SD card on every boot.
You can disable the checking (which is done by the tool fsck) by editing the file /etc/fstab. Run sudo nano /etc/fstab to open the file. In the lines that start with PARTUUID, change the number at the end of the line (1 or 2) to 0. Save the file by pressing CTRL+O, Enter and CTRL+X.
Battery monitor
You can find the scripts to display a battery status icon on GitHub. Follow the installation description and configure the correct ADC type according to the following table:
| daddelkischde revision | ADC type | MISO pin | CLK pin | CS pin |
|---|---|---|---|---|
| v1.1 | MCP3001 | 38 | 40 | 36 |
| v1.0 | MCP3001 | 38 | 40 | 36 |
| v0.2 | MCP3551 | 38 | 36 | 40 |
Set the icon location and size according to your display resolution. x = 0 and y = 0 is the lower left corner. For example if your display resolution is 480x320 pixel, select the small icon set and ICONX = 460 and ICONY = 5.
If the installation was successful you should see the battery icon in the top right corner.